Aug 27, 2025

Aug 12, 2025

Jun 04, 2025

May 30, 2025
B4, Qingdao High-Tech Zone, No. 17 Songyuan Road, Qingdao.
+86 13864822549
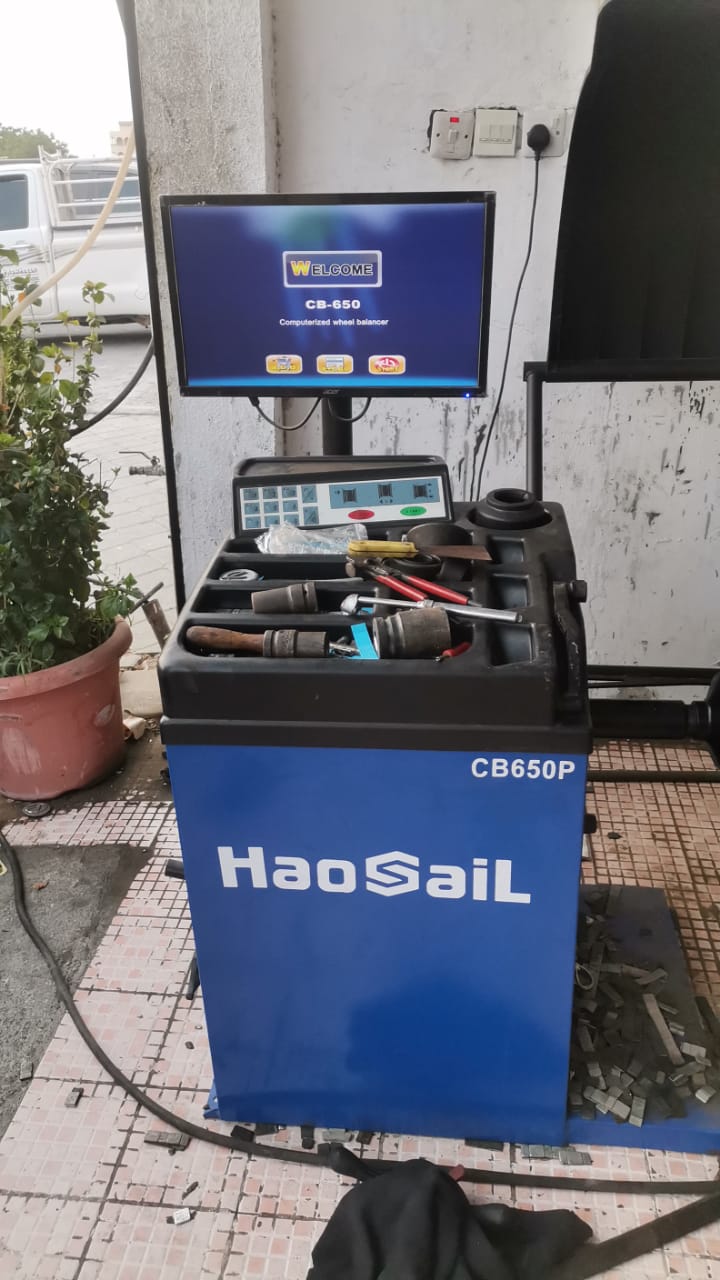
Using a wheel balancer can eliminate wheel imbalance, prevent vehicle vibration during driving, and extend the lifespan of tires and suspension systems. Below is a detailed step-by-step guide:
---
### **1. Safety Preparation**
- Park the vehicle on a **level surface** and engage the parking brake.
- Lift the vehicle using a **jack** and support it with **safety stands**.
- **Loosen the wheel nuts** before removing the wheel (do not fully remove them yet).
- Clean off dirt, stones, or old balancing weights from the tire.
---
### **2. Mounting the Wheel on the Wheel Balancer**
1. **Select the Appropriate Cone Adapter**
- Choose an adapter (cone sleeve) that matches the wheel’s center bore size.
- Ensure the wheel is **securely** mounted on the balancer spindle without wobbling.
2. **Secure the Wheel**
- Mount the wheel onto the wheel balancer spindle and fasten it with the **locking nut** (hand-tighten only; avoid over-tightening).
3. **Enter Wheel Parameters on the Wheel Balancer** (some machines require manual input)
- **Rim Diameter** (e.g., 15″, 16″, etc.).
- **Rim Width** (distance from the inner to outer edge of the tire).
- **Rim Edge Distance** (some machines require measuring the distance from the inner rim edge to the balancer).
---
### **3. Initiating the Balance Test**
1. **Start the Wheel Balancer**
- Close the safety cover (if equipped) and press the **“Start”** button—the machine will spin the wheel automatically (for automatic models).
- For manual models, **rotate the wheel manually** to high speed and release, allowing the machine to detect imbalance.
2. **Read the Imbalance Data**
- The balancer screen will display **the imbalance location** (e.g., “IN” = inner side, “OUT” = outer side) and **the required weight in grams** (e.g., “15g”).
- Some machines use **arrows** or **clock positions** (e.g., “3 o’clock”) to indicate the location.

### **4. Installing Balancing Weights**
1. **Choose the Weight Type**
- **Clip-on Weights** (for steel wheels, hammer them into place).
- **Adhesive Weights** (for alloy wheels; clean the mounting area before applying).
2. **Install the Weights**
- Follow the balancer’s display instructions for weight placement:
- If it shows “IN 10g,” add a 10g weight on the **inner side** of the rim.
- If it shows “OUT 5g,” add a 5g weight on the **outer side** of the rim.
- Ensure weights are firmly attached and will not come loose.
---
### **5. Rechecking Balance**
- Restart the wheel balancer to confirm the imbalance is resolved (display should show “0” or “OK”).
- If imbalance persists, adjust weight placement or amount until balanced.
---
### **6. Reinstalling the Wheel**
- Remove the wheel from the wheel balancer.
- Reinstall it on the vehicle, tightening the nuts in a **crisscross pattern** (to avoid warping the rim).
- Use a **torque wrench** to tighten to the manufacturer’s specified torque (e.g., Toyota typically requires 90-110 N·m).
- Lower the vehicle and double-check that all nuts are secure.
---
### **Important Notes**
✔ **Dynamic vs. Static Balancing**
- **Static Balancing** (single-plane) corrects up-down vibrations and is suitable for low-speed vehicles.
- **Dynamic Balancing** (dual-plane) corrects side-to-side and up-down vibrations—essential for modern vehicles.
✔ **Troubleshooting Common Issues**
- If imbalance persists after adjustments, possible causes include:
- **Tire damage** (e.g., bulges or deformities).
- **Bent or damaged rims**.
- **Improper tire mounting** (may require remounting).
✔ **Recommended Balancing Interval**
- Perform wheel balancing every **5,000–8,000 km** or when replacing tires.
- If steering wheel vibrates at high speeds, check wheel balance first.
---
### **Example Workflow (Illustrated)**
1. **Mount Wheel** → Enter Parameters → Start Test.
2. Display shows “IN 20g @ 12:00” → Add 20g weight on the inner side at 12 o’clock.
3. Retest → Display shows “00” → Balancing complete.
By following these steps, you can accurately perform wheel balancing machine!