Installation of a Car Lift: Precautions, Requirements, and Process
Apr 14, 2025
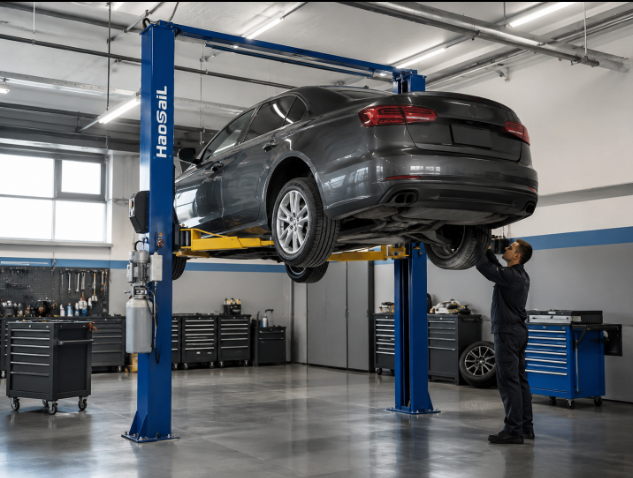
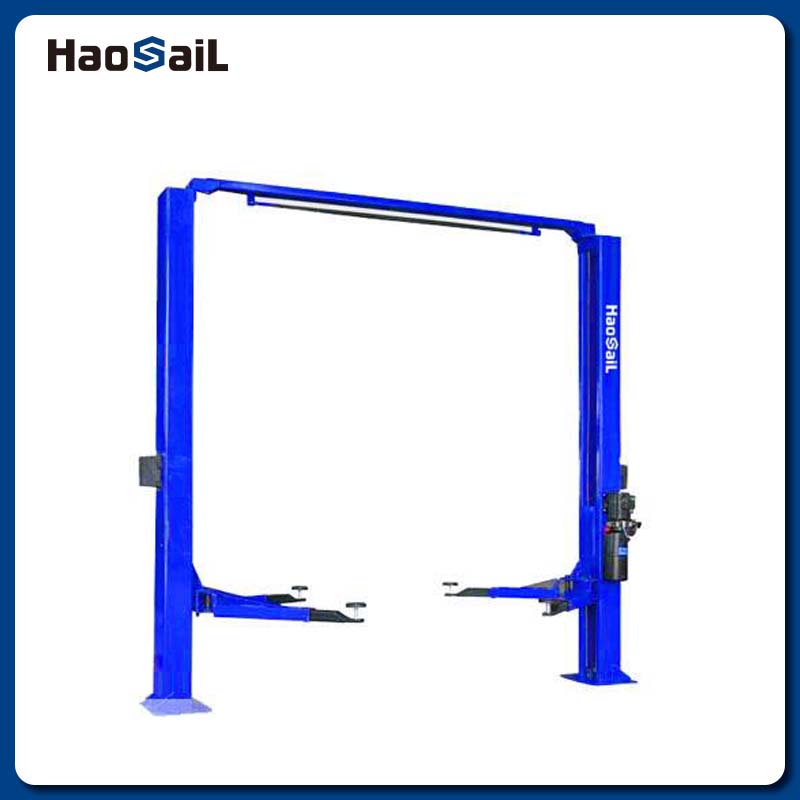
Installing a Car Lift is a significant investment that can greatly enhance your garage or workshop's functionality. However, proper installation is crucial for safety and longevity. Here’s a comprehensive guide to help you through the process, covering installation precautions, requirements, and the step-by-step procedure.
Installation Precautions
1. Safety First: Always prioritize safety during installation. Ensure you have the necessary protective gear, such as gloves and safety goggles. 2. Professional Help: Consider hiring a professional installer. They have the expertise to ensure the lift is securely and correctly installed, minimizing risks. 3. Read the Manual: The manufacturer’s manual is your best guide. It contains specific instructions and safety tips tailored to your Car Lift model.
Installation Requirements
1. Concrete Floor: A solid, level concrete floor is essential. The floor should be at least 4 inches thick, though 6 to 12 inches is ideal. The concrete should have a minimum PSI of 3,000. 2. Space and Clearance: Ensure there is sufficient floor space and ceiling height to accommodate the Car Lift and vehicle。Remove any obstacles from the installation area。 3. Electrical Setup: Most Car Lifts require a dedicated power source, usually a 110V or 220V electrical outlet. Consult with an electrician to ensure your garage’s wiring can support the lift.
Installation Process
Preparation - Unpack and Organize: Carefully unpack the Car Lift, protecting components from damage。Organize the parts and tools needed for installation. - Mark Installation Area: Use a chalk line to mark where the columns will be installed. This ensures accurate placement.
Assembling the Car Lift - Base Assembly: Start with the base, ensuring it is level and secure。Use a level to check for vertical alignment。 - Column Installation: Position the columns according to the marks. Use the base plate holes as a guide for drilling.Secure the columns with anchors and bolts, ensuring they are tightly fastened. - Top Trough Assembly: Attach the overhead bar to the columns. This may require a forklift or ladders for elevation.
Installing Cables, Lines, and Hoses - Hydraulic Lines and Cables: Install the hydraulic lines, safety cables, and power unit hoses according to the manual。Ensure they are routed correctly to avoid interference. - Safety Features: Install safety locks and other features. Test them to ensure proper functionality.
Installing the Car Lift Arms - Arm Placement: Attach the lift arms to the carriage. Ensure they are properly positioned and secured. - Arm Restraints: Install restraints to prevent excessive movement of the arms.
Final Steps - Power Connection: Connect the power unit to the electrical supply. Ensure it is properly grounded. - Test Run: Perform a test run to check the lift’s stability and functionality。Inspect the movement, locking mechanisms, and safety features. - Regular Maintenance: Schedule routine checks to ensure the lift remains in optimal condition.
Conclusion
Installing a Car Lift requires careful planning, the right tools, and strict adherence to safety guidelines. By following these precautions and steps, you can ensure a safe and successful installation. Whether you’re a professional mechanic or a car enthusiast, a properly installed Car Lift will enhance your ability to maintain and repair vehicles efficiently. For the best results, consider consulting the manufacturer’s manual and seeking professional help when needed.