Aug 27, 2025

Aug 12, 2025

Jun 04, 2025

May 30, 2025
B4, Qingdao High-Tech Zone, No. 17 Songyuan Road, Qingdao.
+86 13864822549
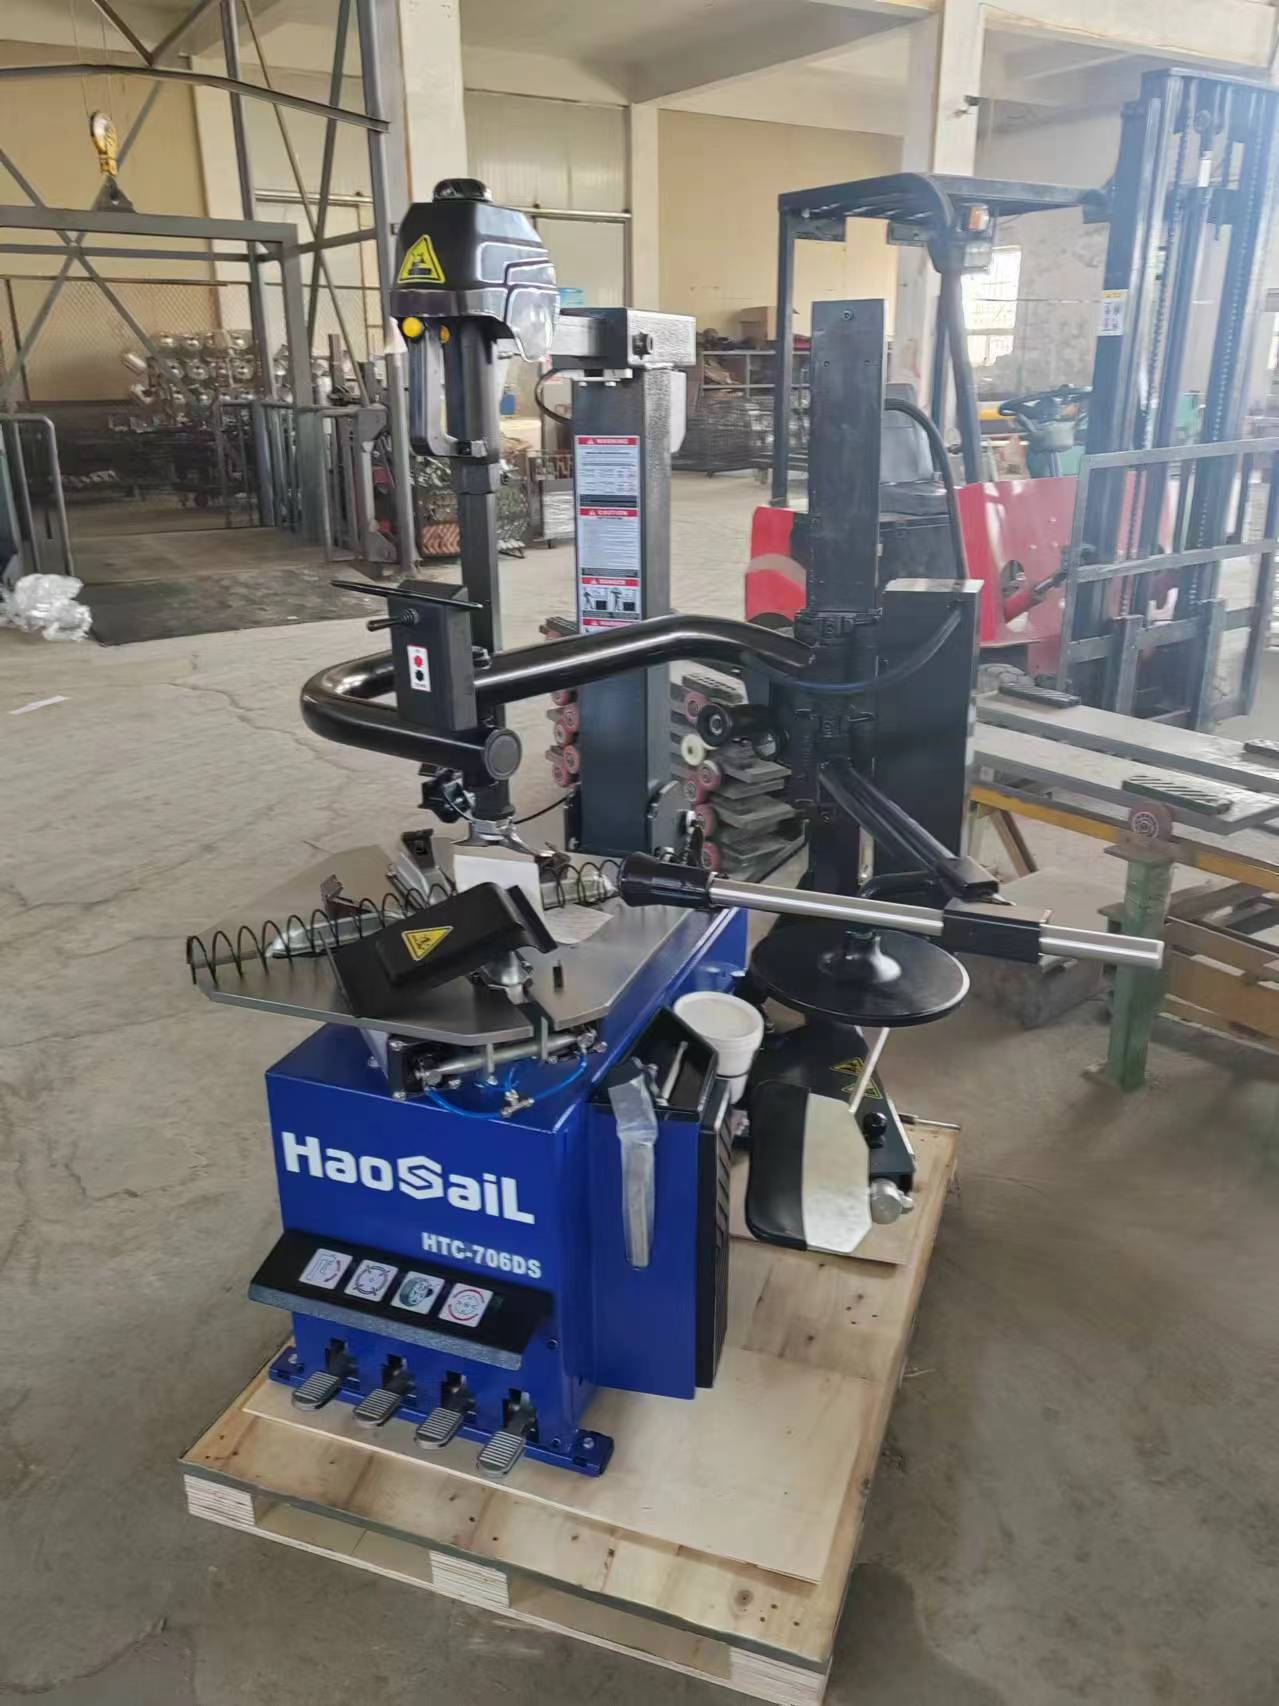
The following are the steps and key points for correctly using a tire changer:
1. **Preparation Work** - Check whether all components of the tire changer are in normal condition, including the air pump, air hose, chuck, crowbar, etc., to ensure that the equipment can operate properly. - Prepare the corresponding tools, such as a tire wrench, etc. Park the vehicle with the tires to be removed in an appropriate position and set up safety warnings to prevent collisions with other vehicles or personnel. - Loosen the valve core of the tire to release all the air in the tire. Use a tire wrench to loosen the fixing bolts of the tire, but do not completely remove them.
2. **Mount the Tire on the Tire Changer** - Place the tire on the workbench of the tire changer and fix the tire with the chuck. The chuck should grip the rim of the tire tightly to ensure that the tire will not shake or fall off during the operation. The operation methods of the chucks of different models of tire changers may vary slightly. Some are tightened by manually rotating the chuck handle, and some are automatically clamped by a pneumatic device.
3. **Remove the Tire** - Use a crowbar to pry up one side edge of the tire from the rim to make it disengage from the rim. When prying the tire, pay attention to selecting an appropriate fulcrum to avoid damaging the tire and the rim. - Clamp the pried-up edge of the tire onto the tire prying arm of the tire changer. By operating the control handle of the tire changer, make the tire prying arm rotate around the rim to gradually separate one side of the tire from the rim. - After one side of the tire is completely separated from the rim, turn the tire over and use the same method to remove the tire on the other side.

4. **Install a New Tire** - Align one side edge of the new tire with the rim, and then put the tire onto the rim. Ensure that the installation direction of the tire is correct. For tires with a directional pattern, install them according to the arrow direction marked on the tire. - Use the auxiliary tools of the tire changer, such as a tire pressing rod, etc., to gradually press the edge of the tire into the rim. During the process of pressing the tire, pay attention to whether the edge of the tire enters the rim evenly to avoid situations such as tire distortion or skewing. - After one side edge of the tire is completely installed on the rim, turn the tire over and install the other side. Also use tools such as a tire pressing rod during installation to ensure that the tire is installed in place.
5. **Inflation and Inspection** - After installing the tire, remove the tire from the tire changer, install it on the vehicle, and tighten the tire fixing bolts. Then use an air pump to inflate the tire. When inflating, follow the air pressure value marked on the tire to avoid over-inflating or under-inflating. - After inflation is completed, check whether the air pressure of the tire meets the standard, whether the tire is firmly installed, and whether there is any damage or abnormality on the surface of the tire. When using a tire changer, strictly follow the operating procedures and pay attention to safety to avoid personal injury or equipment damage caused by improper operation. If you are not familiar with the operation of the tire changer, it is recommended to first refer to the relevant instruction manual or receive training from a professional.